Impression Taking Preparation

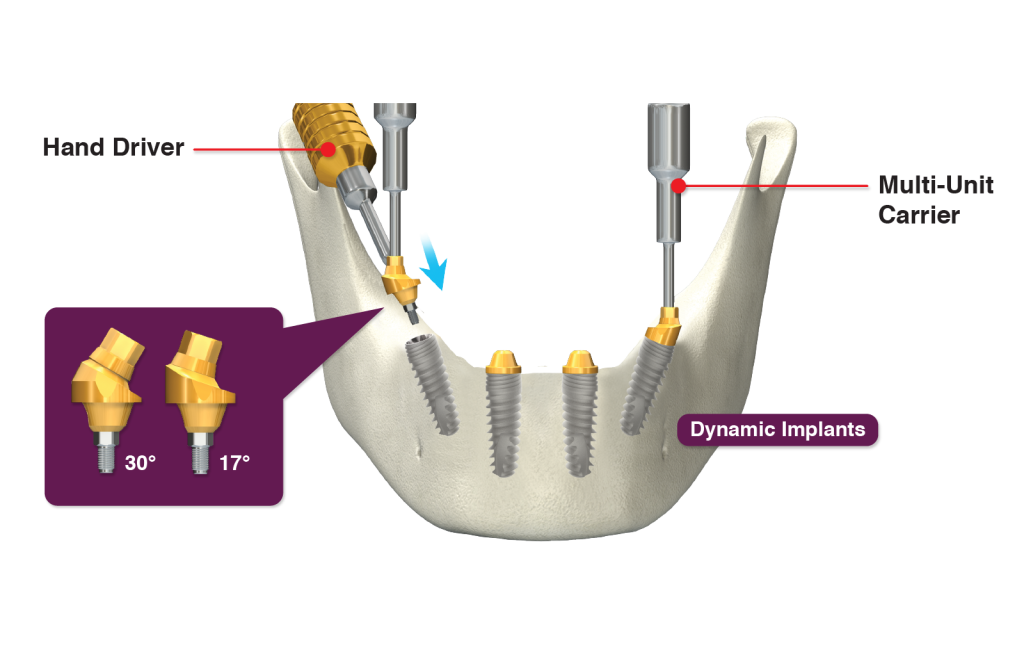
- Confirm proper Multi-Unit position, especially in the angled implant. Make sure that angled multi-unit height is directly at the distal area and connecting screw opening is in a vertical direction.
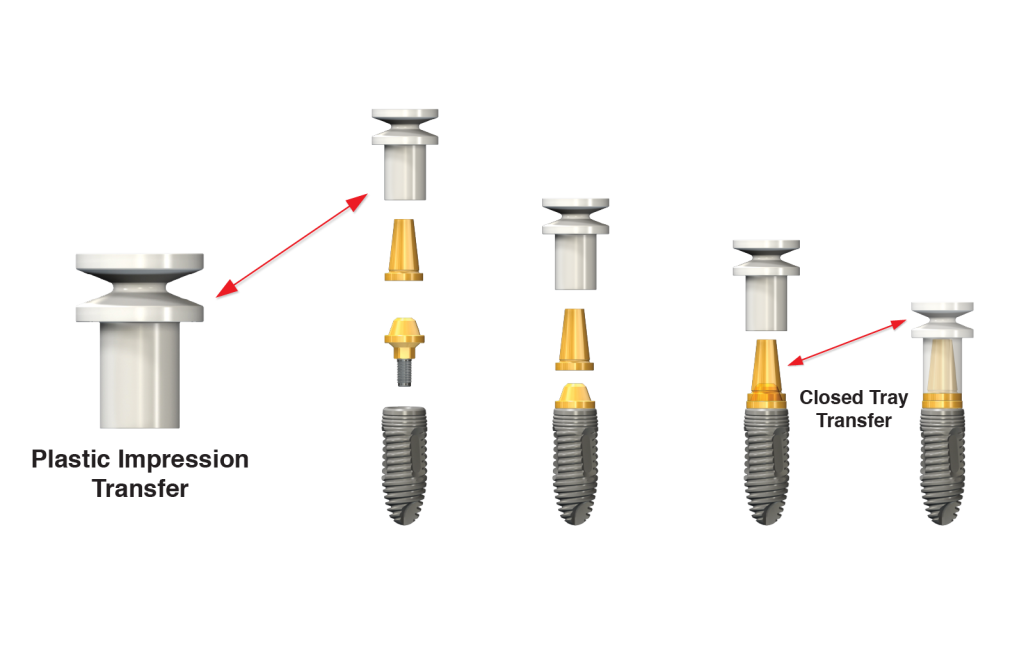
- Screw closed tray transfer to the Multi-Unit. Tighten up to 35Ncm.
Closed Tray Impression Option
- Snap the plastic impression transfer into the closed tray transfer
- Screw closed tray transfer and engage it tightly to the multi-unit abutment

- Snap the plastic impression transfer into the closed tray transfer. Make sure to confirm the snap step by applying firm vertical pressure.
- Select a proper tray.
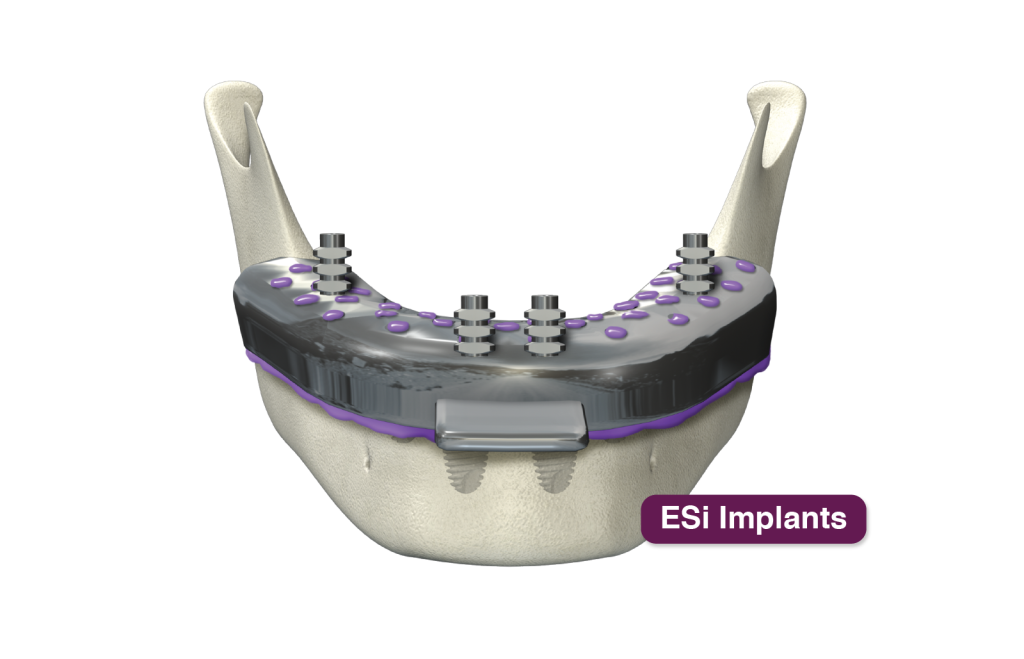
- Inject impression material around plastic transfer. Place putty in impression material into the impression tray and take records of multi-unit.
- Take record carefully and confirm that impression is fully set.
- Snap out impression from its abutment.
- Remove closed tray transfer from multi-units and connect to the lab analog.
- Place lab analog back precisely in plastic impression transfer.
- Give it to lab.


